Showing posts with label calico critters. Show all posts

Wednesday, 22 April 2015

SF Custom House Project Update

Some of you may have been wondering why I have not been posting any SF stuff since the last update on my Wildwood Home. To be honest, I have been really discouraged with my horrible painting skills and I think I might just abandon the project and get a new house instead.

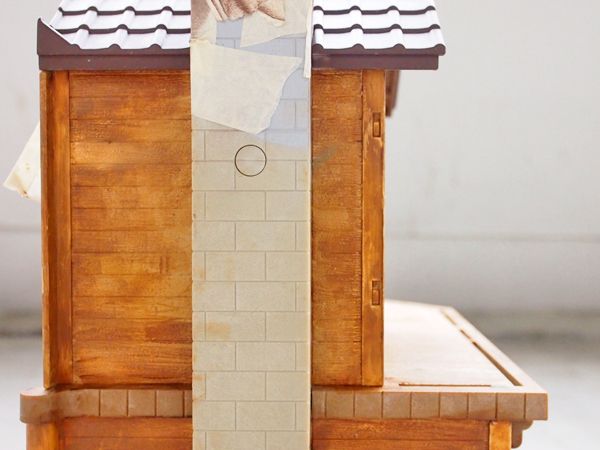
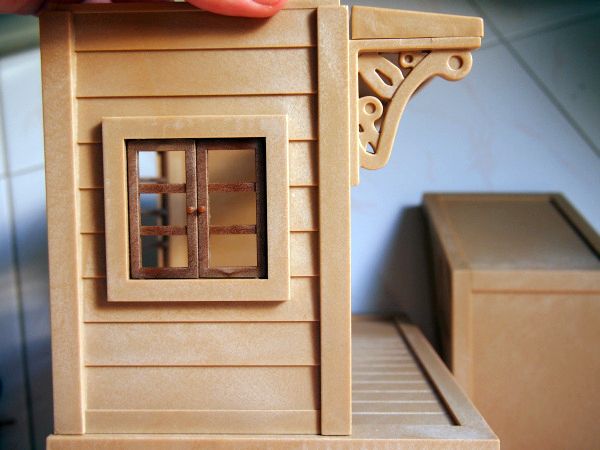
Here's how my SF house looks like now:


I failed horribly in trying to create the uneven wood stain effect. I had followed this tutorial on how to achieve a wood on plastic; but for some reason, the oil stain mixed with thinner kept removing my base coat as I tried to go over it.

I just wish I had the talent to be creative like other people :(

Thursday, 25 December 2014

It's Christmas!

I recently received a package from my Christmas Swap with Courtney and wanted to share with you guys what she sent me ^^

It was a random figure swap so neither of us knew which critter we would be getting! To be honest, I had totally forgotten about having entered for the figure swap until I received an her package just last week! Thankfully Courtney is very understanding :'(

Anyway, the figure that I got from Courtney was little Bud Timbertop! Courtney was also ultra sweet to include some extra gifts: a red wagon, a roasted marshmallow on a stick and a Christmas wreath!

Thank yous o much Courtney! I love everything you sent me! They go very well together and fit perfectly into the Christmas theme – hence I decided to take a photo of everything she sent me along with my Father Christmas & Tree Set:


Have a blessed X'mas everyone!

Sunday, 23 November 2014

Christmas Giveaway!

I chanced upon this really cute retired Sylvanian Families set going at a good price and thought I'd do a Christmas Giveaway to thank all my readers for their constant support!

To participate in my Christmas Giveaway, all you have to do is follow my blog and leave a comment stating why you'd like to win this set and how you intend to use it in your collection! This giveaway is open to everyone and I'll cover the cost of shipping plus tracking to you.

The winner will be announced on 1st December. Good luck everyone ^^


Saturday, 8 November 2014

Creating a Sylvanian Home (Part 3)

Managed to spray the roof of my SF house as well as prime the door and some of the windows:


I used Tamiya's Linoleum Deck Brown Spray Paint for this. Their spray paint is specifically for plastic so I had no problems with flaking. The paint goes on really well and dries pretty quick. I could apply a second coat after about 30 minutes. It also has a very nice matt finish, unlike other spray paints which often give this semi-glossy look.


Sadly, I got alot of paint on the walls this time :(


I tried using Mr Color Thinner to remove the excess paint but it could only remove some parts of it. One of the walls is badly stained because I didn't fully cover that area with some paper / tape. Silly me. I thought the paint wouldn't be able to get on there but I was wrong:


I had plan to leave the walls in it's original color because I couldn't find a nice shade of yellow to match the roof. But that's alright, I guess I'll just have to pick a color for the walls now :)

Saturday, 25 October 2014

Creating a Sylvanian Home (Part 2)

Work has been crazy the past few weeks with lesser days off than usual so I haven't been able to start on my custom SF house until now :(

The first step is to spray a layer of primer over the surface I wish to paint. Some people don't see the need for primer as long as you're using spray paint meant for plastics. But I read priming helps to prevent the original colour of the surface you are painting from showing through.

Preparing to prime:


I used Mr Hobby Surfacer 1500 Gray spray to prime the roof. I taped the areas I didn't want sprayed with masking tape first. I also used a huge piece of plastic to seal the windows so paint wouldn't get inside.

Remember to shake the can well before you start and always use a dust mask. It's also best to do this outside where it's well ventilated. Paint fumes are toxic and can make you ill.

Result:


Pretty proud of how even it looks considering this is the first time I'm spraying something that isn't for practice. Spray cans are really easy to use once you get the hang of it, though I did make a couple of small mistakes:


Got some primer on the inside of the house because I was lazy and didn't tape the inside.

I've yet to decide if I want to paint the ceiling a different colour. If I do, I'll have to prime the whole ceiling anyway. But if I decide to keep the ceiling as it is, I think some rubbing alcohol should remove it. Be careful not to use nail polish remover with acetone in it as it might melt away the plastic. 

I also had these bubbles / bumps on one part of the roof:


This happens when you spray too close and the paint gets too thick; making it hard to dry evenly. But this can easily be fixed with some sanding when the layer has completely dried. It's important to fix bumps before adding more layers of paint because spraying on an uneven surface will only make it look worst.

That's it for now. Can't wait for my next day off to start painting the roof brown!

Sunday, 14 September 2014

Creating a Sylvanian Home (Part 1)

When I first started collecting SF, I'd intended to complete the home of my Wildwood family first before moving on to build the rest of my village. Sad to say, that hasn't happened yet because I keep coming across retired items I feel I needed to buy immediately because they are well.. hard to find.

It's boring to just take pictures for reviews. I'd love to take pictures that tell a story but I can't do that because of the lack of props and settings. So I've decided I will finally concentrate on finishing my Wildwoods' home!

My Wildwoods are from the Celebration Set by Flair; which comes with an additional older brother and sister, as well as a baby:


Kinda disappointed that the older brother's clothes isn't the same as the picture on the box. He came in overalls similar to his father's. The little brother's and older sister's clothes are different too. Damn Flair and their often misleading stock pics ;(


As you can tell, my Wildwood family is pretty big so they're going to need a huge house! I also plan for Grandpa and Grandma Wildwood to live in with the rest of the family so that'll be 9 of them sharing the same house!

The first house I ever gotten was the Beechwood Hall (also known as Willow Hall or City House with lights). It's funny how all the SF houses look huge but in reality they are pretty small and cramped once you start placing furniture in it. But that's the beauty of SF; they're not supposed to be exactly to scale.


With 4 rooms (or 5 if you count the little side room as 1) you'd expect it to be big enough for a standard SF family of 4, but apparently not. I had gotten this Luxury Master Bedroom Furniture Set and there was more than enough furniture to take up both rooms on the top level!


Not enough room for a bathtub!

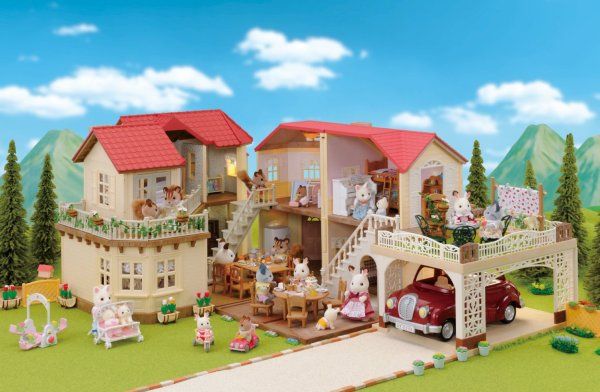
This house is definitely too small for my Wildwood Family. Or at least, for the way I'd like to place my furniture. Not to worry though, because the Beechwood Hall house can be combined with the SF House with Car Porch to form a bigger house like so:

I love the idea of the car porch. It reminds me alot of my aunt's house in The Philippines.

Honestly, I quite like the original color of the houses. I think the cream walls and the red roof is a great combination. However, they don't seem to be the same shade of cream in real life. Also some of the windows come in white whereas some are the same color as the walls. Inconsistencies bother me because I'm such a perfectionist :(

I could just paint all the windows the same color but how about painting the house in an entirely different color?

I'd love for some green windows. Below are my choices for the color scheme of the exterior. I think it'd suit my Wildwoods very well:

Initially, I was pretty skeptical about customizing my own SF house because 1. I kinda like them in their original state 2. I might screw up and end up with something that looks worst than it originally was.

But seeing bbqweasel's work inspires me so much to want to try. Afterall, the whole idea of SF is so that we can use our imagination!

How do you feel about customizing your own Sylvanian home?

Sunday, 20 July 2014

SF Post Office & Postman

Sorry for the really long inactivity! I started on this blog post over a month ago but never had the attention span to complete it.

Anyway, I've finally gotten myself a camera! Which explains why there weren't any posts since January because I had nothing to take pictures with.

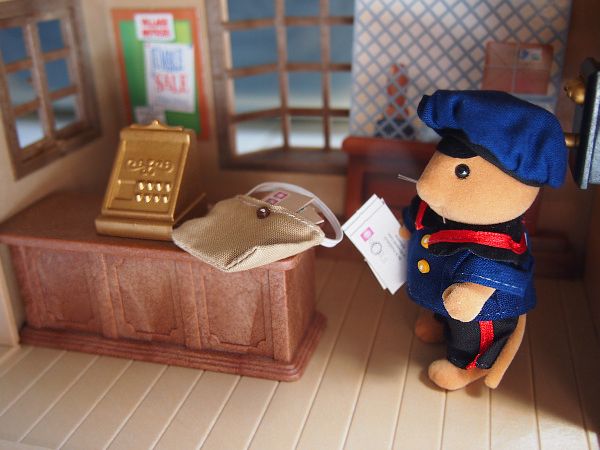
Now onto my review of the Post Office & Postman set by Flair which I'd gotten from ebay sometime in February this year:


This is my most expensive SF purchase till date. Costed me about 280 USD. It's a brand new set and I've not seen other Post Office sets for sale so far except a pretty used one by TOMY going at 145 USD including shipping. Still pretty expensive considering how badly worn the set looked but I will consider getting a used one to make into a police post!


The window sills are of a rustic shade of brown - very nice contrast with rest of the building.


And instead of stickers, the decorations for this set came in card form with double-sided tape attached. Personally, I prefer this because you can easily remove your decorations if you've pasted them wrongly the first time. I always tend to stick my stickers slightly off-center or slanted and it saddens me that I can't peel them off and re-apply without creasing or damaging the stickers :(


The set also came with some postcards, letters and delivery papers. I just love how SF made the words on these tiny documents readable!


The wordings on the special delivery card are actually readable! I hadn't bought my macro lens yet when I took pictures for this review.


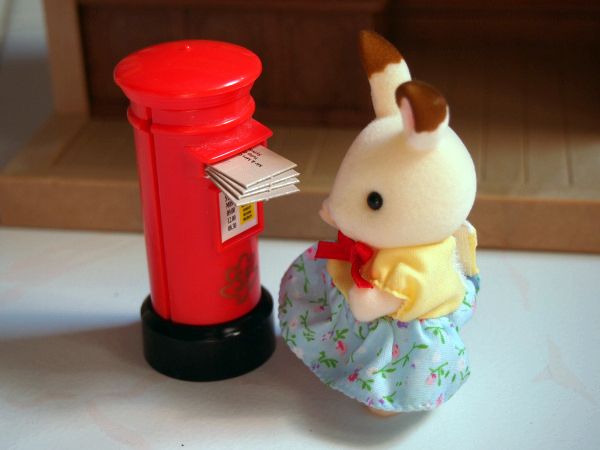
And here's the little post box that comes with the building:


It can be opened so that Postman Samuel can retrieve those letters!


A pity my Postman Samuel had some staining on his head. Probably from the hat being on his head for very long.


And one last picture of Postman Samuel at work! His little bag is functional and I absolutely love the wall telephone behind him: